
Bosses
Strategies for 100+ Nioh 3 bosses — attack patterns, weak points, elemental weaknesses, parry windows, cheese tactics and guaranteed drops.
Introduction
Nioh 3 fields more than one hundred bosses across its four eras — main-story enemies that teach the core loop, large yokai with unique elemental gimmicks, human duelists whose parry windows are the whole fight, and side-bosses that guard the best early loot. Each boss guide here covers the three things you need: the full attack pattern with tells, the weak points and elemental resistances, and a reliable strategy — including the cheese or cheese-adjacent tactics the community has validated. Boss guides list guaranteed drops and the rewards each fight unlocks, so you always know why a boss is worth farming.
Top Bosses Quick Reference
| Boss | Era / Location | Difficulty | Key Threat | Strategy |
|---|---|---|---|---|
| Yamagata Masakage | Prologue | Medium | Hyperarmor combos | Respect his poise — punish only after whiffs. |
| Jakotsu-baba | Hamamatsu Castle Town | Medium | Snake grab strings | Watch the grab tell; Deflect her rush attacks. |
| Mezuki | Warring States | Medium | Telegraphed charges | Dodge sideways, punish the recovery. |
| Tokugawa Kunimatsu | Story rival | Very Hard | Relentless yokai combos | High Toughness, learn the parry windows. |
| Hiruko | Endgame | Very Hard | Multi-phase burst | Save burst damage for phase three. |
| Bloodedge Demon | Field spawn | Hard | High-value early loot guard | Bring Fire talismans; its resist is low. |
Boss Field Guide
Yamagata Masakage
The prologue duelist who teaches you to respect hyperarmor.
Jakotsu-baba
The first Crucible gatekeeper — snake-themed grabs and punish windows.
Mezuki
The returning yokai classic — telegraphed charges with a huge punish.
Tokugawa Kunimatsu
The story rival — a full yokai-powered duelist with relentless combos.
Hiruko
Community-voted hardest boss — three burst phases with no downtime.
Bloodedge Demon
Rare field spawn guarding high-value early loot.
Core Mechanics
Every boss fight in Nioh 3 follows a pattern: a main-story boss teaches one mechanic, a large yokai tests your positioning, and a human duelist tests your parry timing. Bosses have a Ki bar as well as an HP bar — depleting the Ki bar staggers them and opens a Final Blow, which is why Ki-damage weapons and attacks are so valuable. Elemental resistances matter: bosses with a Fire affix punish fire builds and reward Water or Lightning. Drops are semi-random but many bosses guarantee a specific item on first clear, which is what makes repeat farming worthwhile. Bosses also reward preparation in the field: carrying the right elemental talismans, a full Elixir stock and a charged guardian spirit can turn a 10-attempt wall into a one-shot clear. Tracking guaranteed drops per boss matters too — some of the best accessories and Grace pieces in the game only come from specific repeatable fights, so your boss list doubles as your farming list.
Advantages
Boss guides are evergreen, high-intent content — players search bosses by name constantly, both during their first run and again on replay or DLC release. Each name-specific guide owns its own long-tail keyword (e.g., 'Nioh 3 how to beat Jakotsu-baba'), building the site's SEO moat. Boss content also compounds: strategy tips, drop tables and cheese tactics combine into pages that keep evolving with the community's discovery. Name-specific searches mean readers arrive already knowing exactly what they want, making boss pages the easiest place to convert a hit into a bookmark. The content also ages gracefully: pattern descriptions and parry windows barely change across patches, so a guide written at launch remains mostly correct on release day, at DLC one and even into the second expansion's challenge modes.
Challenges
Boss guides are the easiest to get wrong. Exact attack names and timings come from community trial, so early guides may contain imprecise pattern descriptions; boss resistances and drops also change across patches. The 'hardest boss' label is subjective — our S-tier reflects community polls, but a player's personal wall may be a B-tier boss that counters their build. We mitigate by labeling consensus explicitly and updating drop tables after every patch. Difficulty labels are inherently personal — a boss that a poise-heavy Samurai finds easy may hard-wall an Agility Ninja, and vice versa. Our community ratings try to average this out, but players who build unusually should weigh the labeled difficulty against their own feel rather than treating it as gospel, and always re-check drop tables after a patch.
Frequently Asked Questions
How many bosses are in Nioh 3?+
What is the hardest boss in the game?+
What are the best boss drops to farm?+
Do bosses have elemental weaknesses?+
Quick Tips
Before every boss, check its environment: ledge-heavy arenas let you gravity-cheese some yokai, while mist zones reward fighting outside the hazard rather than inside it. Gravity-cheesing a ledge boss also skips half the fight, and purifying a mist zone before engaging every group inside it turns a brutal gauntlet into a fair one — so your first move at any boss arena should be reading the geography, not attacking.
Keep your guardian spirit charged for each boss's phase transition — the animation lock gives you a free window to unleash your strongest burst and skip the scariest attack pattern. The stagger from a well-timed summon also interrupts the boss's most dangerous attack pattern, buying you the seconds you need to reposition or heal; players who hoard the gauge for the final phase often lose more from the accumulation of missed staggers than they gain from one big burst.
If a boss one-shots you from full HP, check your Toughness and HP rolls before blaming your reflexes — many 'unbeatable' fights become manageable with a single defensive gear upgrade. One or two defensive rolls on your chest piece or helmet often erase the one-shot threat entirely, and the same fight that felt unfair becomes a normal endurance test. So whenever you hit a wall, check your gear budget before your reflexes — the cheaper fix is usually the better one.
Featured
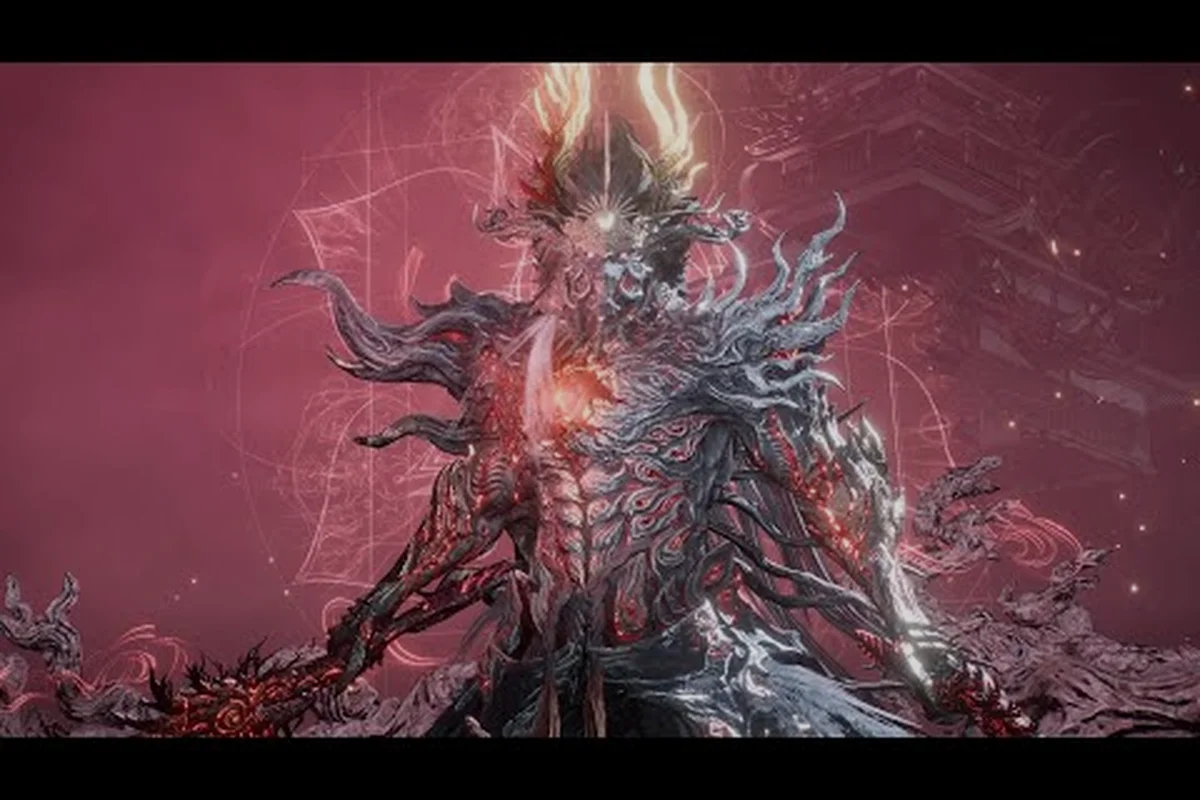
Nioh 3 All Bosses: Complete Roster and Story Order
Nioh 3 all bosses list covers the complete roster in story order. Every main and sub mission boss from first to final is rated by difficulty.
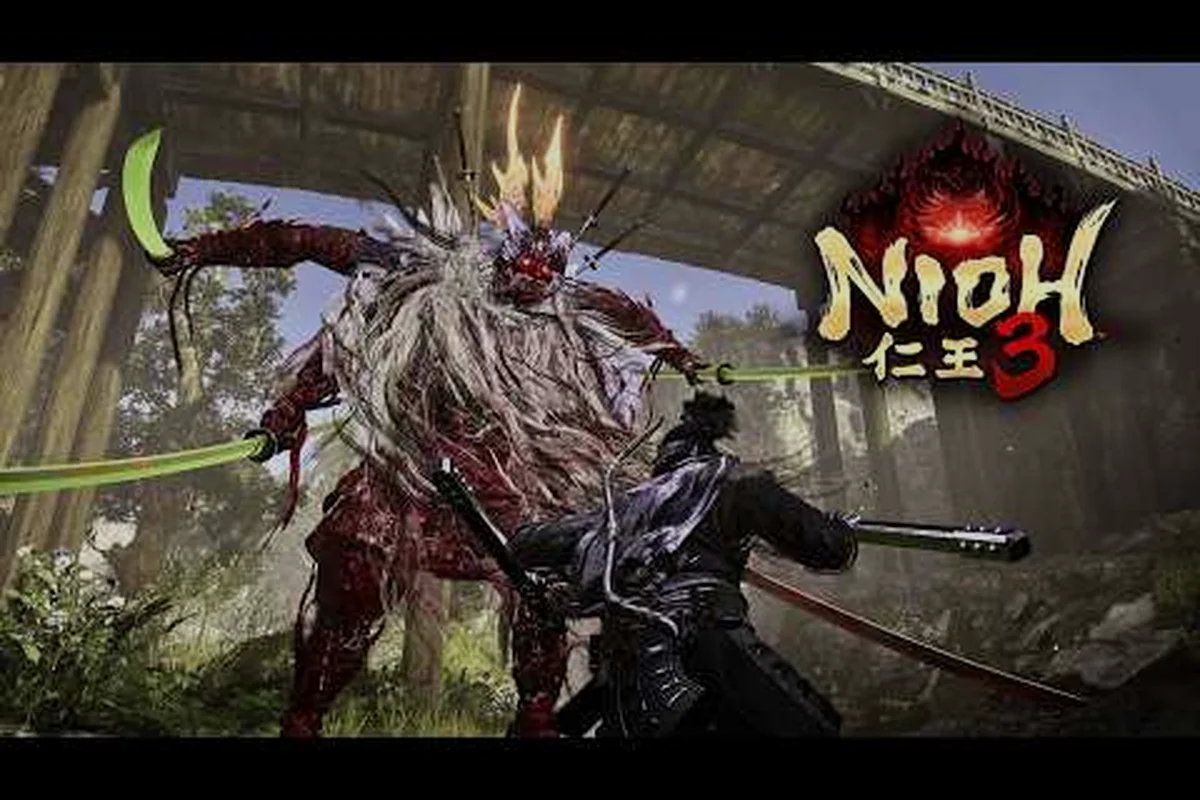
Nioh 3 Bloodedge Demon: How to Beat This Boss Guide
Nioh 3 Bloodedge Demon boss guide reveals weak points and attack patterns. Use burst counters and elemental damage to end this Yokai fight quickly.

Nioh 3 Boss Parry Guide: Timing and Patterns for Every Boss
Master Nioh 3 boss parry timing with this guide covering human and Yokai patterns, burst counters, and stance-specific deflects for every major fight.
All Articles
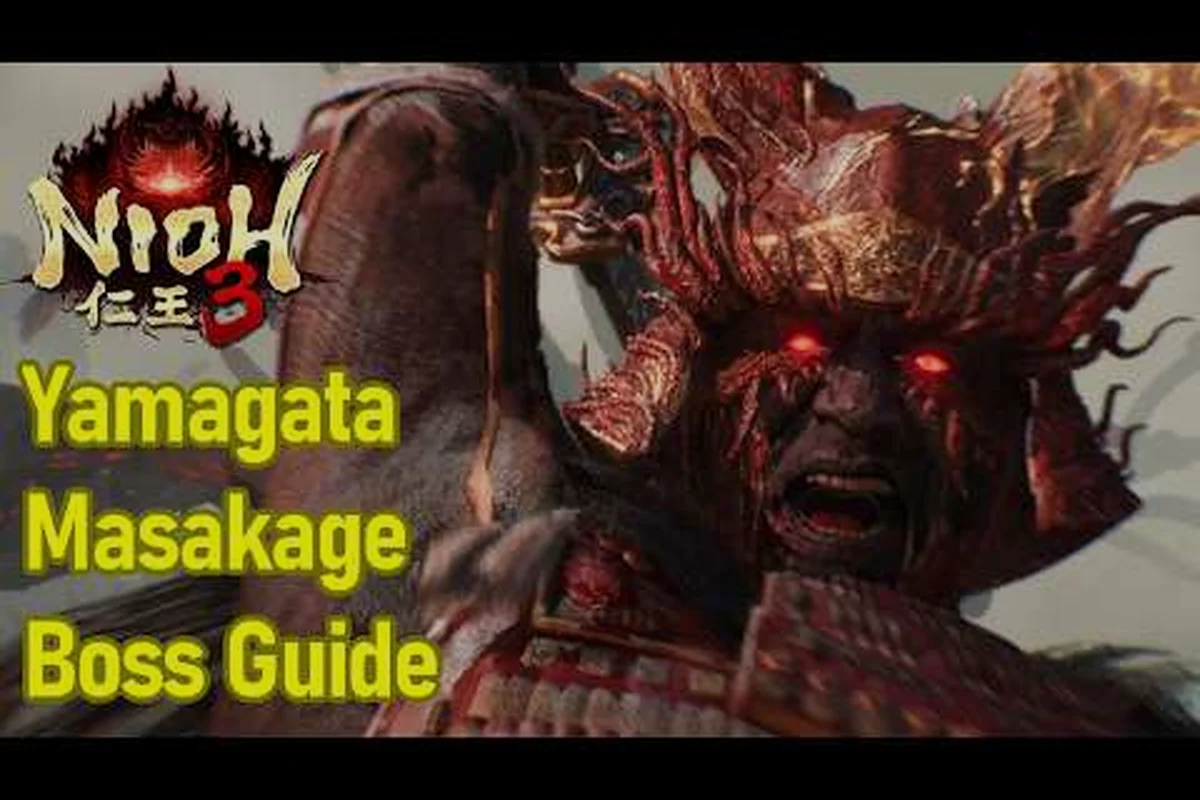
Nioh 3 Yamagata Masakage: Boss Weakness and Fight Guide
Nioh 3 Yamagata Masakage boss guide covers attacks, phases, and counters. Learn how to beat this human boss with parries and ki damage tactics.

Nioh 3 Boss Strategies: Weak Points and Counters Guide
Nioh 3 boss strategies for every enemy type, from Yokai to human lords. Learn elemental weaknesses, parry windows, and cheese tactics for hard fights.

Nioh 3 Boss Summons Co-Op: How to Summon Help Guide
Nioh 3 boss summons co-op lets you call allies for tough fights. Learn how to summon NPCs and friends for every main story and side mission boss.
Nioh 3 Masters List: Top Rewards, Rare Drops and Loot
Nioh 3 masters list focuses on the toughest masters and their best drops. Use the reward tables to target rare loot from every major boss fight.